Dead Simple Disk Monitoring
Here's an indepth explainer how Disk Notifier works and why it is more secure than anything else.

Bringing a Linux server under monitoring is a two step process.
Server monitoring in one glance
Only the first two steps are required. The steps 3, 4 and 5 we do.

Dead simple monitoring
Letting us keep an eye on your Linux server is very easy. These are the things you do NOT need to do:
- No additional port needs to be open
- No extra software needs to be installed
- No updates are required
- No credit card is necessary
Monitor a Linux or BSD server
All you need to do is create an account and add your server.
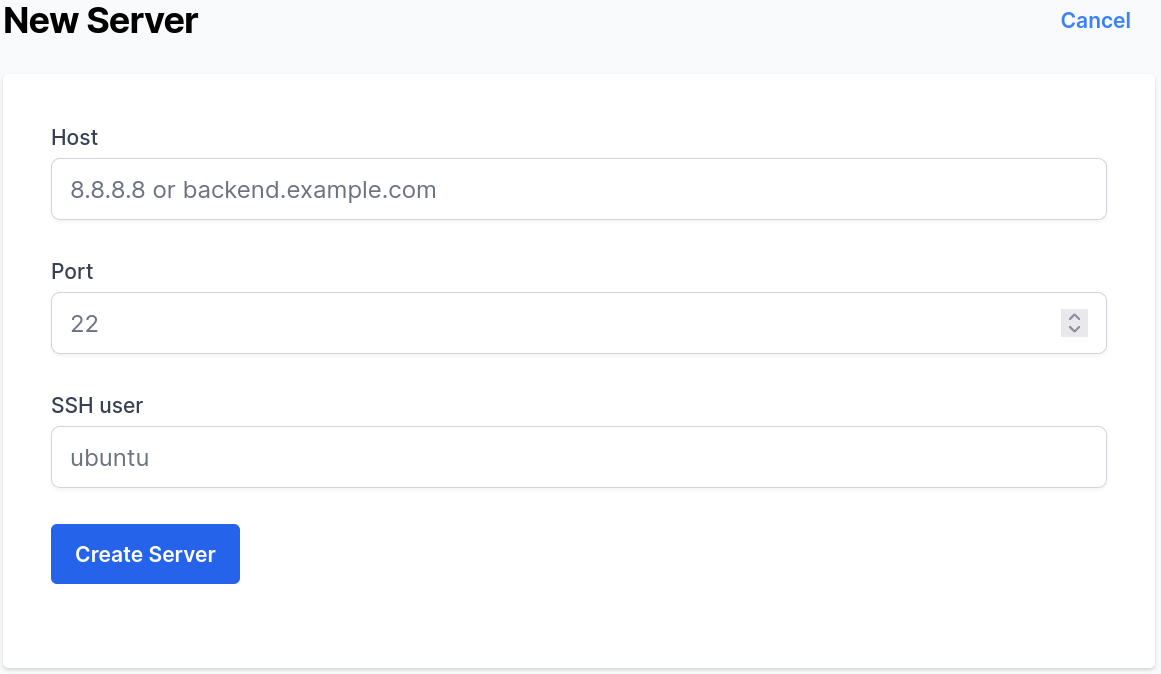
We need to know:
- what port SSH is running on
- what user you intent to install our key with
- at what IP address or host name your server can be found at
Once you have defined a server with us, we will generate a new SSH key for you and share the public key with you. We call it a snippet in this screenshot:
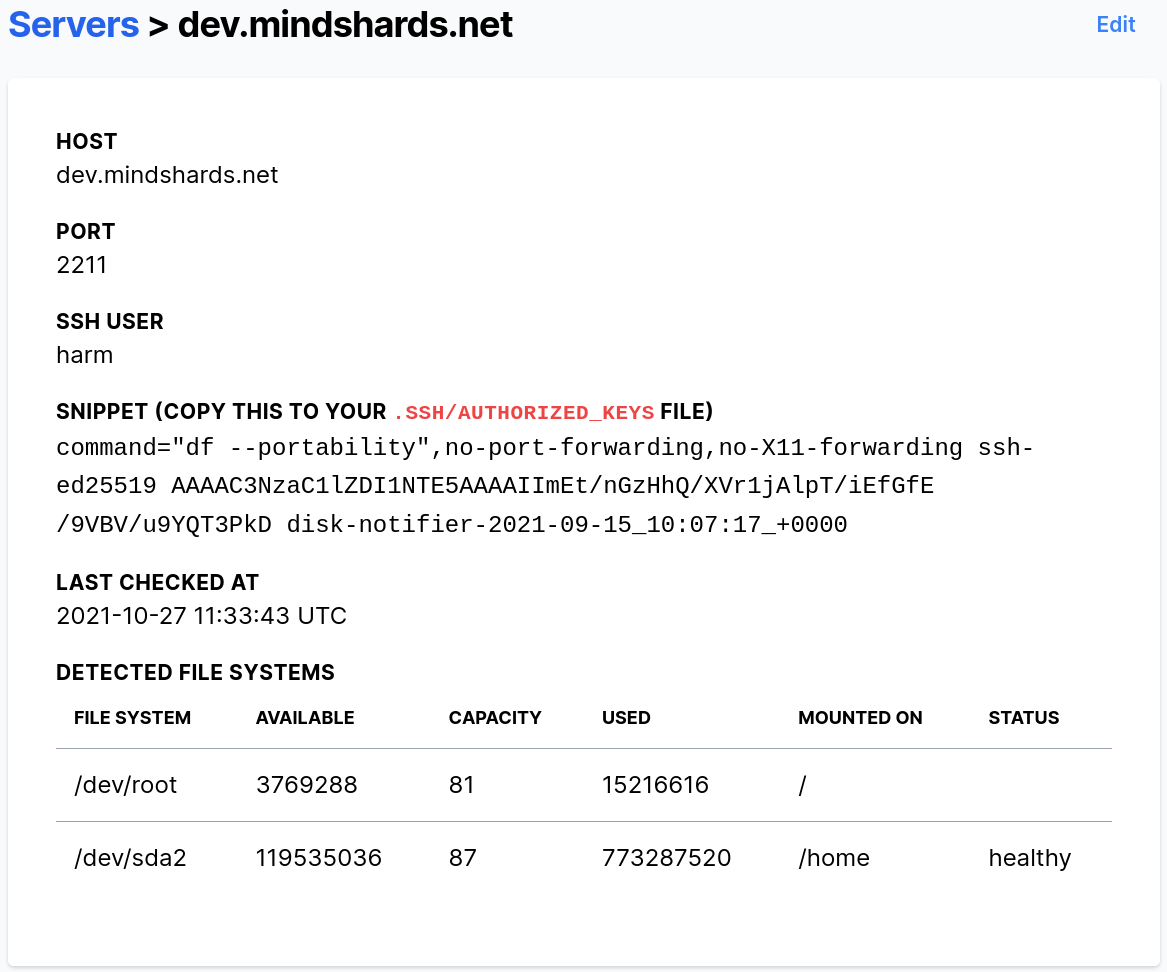
Grab this key (click on it) and append it to the authorized_keys file of the configured user. After a little while, our software will log in to your server and process the results.
Why safer?
In general, people react shocked when we tell them we use SSH to log in to their server. So we’ve explained how this is safe here.
What people forget is that installing software increase their attack surface. The software you install contains bugs, and some of these bugs are exploitable. Not too long ago, even fail2ban had a remote execution bug. Worse still, you need to update the software to fix bugs found constantly.
Some software pushes metrics out, but others expose a port. Of course, this punches a hole in your firewall, and any hole is one hole too many.
Less is more.
